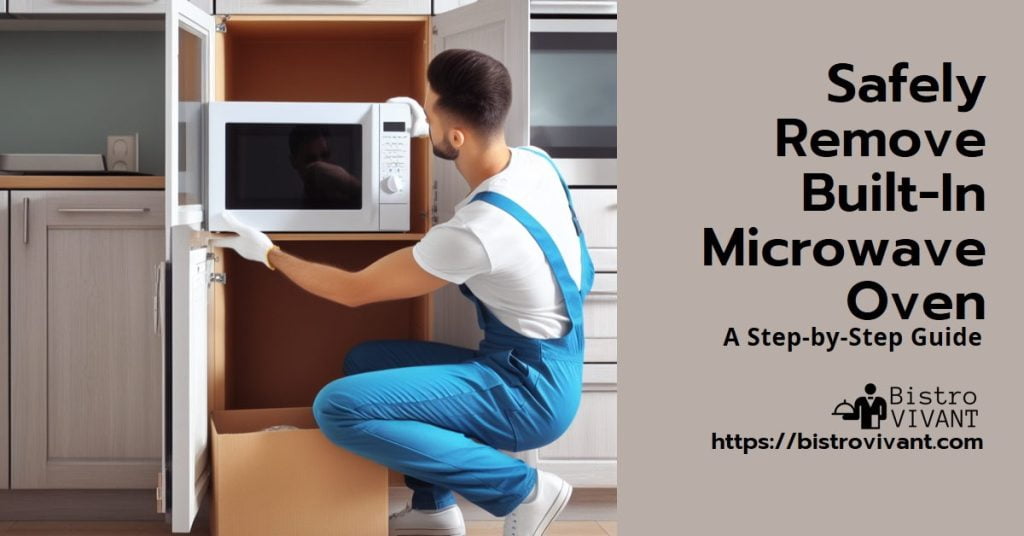
Removing a built-in microwave oven can be a handy skill when updating your kitchen or replacing old appliances. This task, although seemingly daunting, is quite manageable with the right approach. It involves understanding the installation process, ensuring safety measures, and having the appropriate tools.
In this guide, we’ll walk you through the steps to safely and effectively remove your built-in microwave, making room for a new appliance or simply refreshing your kitchen’s look. With attention to detail and a bit of patience, you’ll find that this DIY project is both rewarding and practical.
Tools and Materials Needed
To remove a built-in microwave oven, you will need some tools and safety gear. Here’s what you should gather:
- Screwdriver: This is for unscrewing any attachments.
- Drill: Sometimes needed for tougher screws or to remove bolts.
- Safety gloves: To protect your hands during the process.
- Safety Goggles: These will keep your eyes safe from dust or debris.

Preparing for Removal
Removing a built-in microwave oven requires careful planning and safety measures. Before you begin, ensure you have a clear workspace and have taken all necessary safety precautions.
Switching Off the power supply
The first step is to disconnect the microwave from its power source. This is crucial for your safety. Locate your home’s circuit breaker and turn off the power to the kitchen or the specific outlet your microwave is connected to.
Clearing the Workspace
Make sure the area around the microwave is free of any items. You need enough room to work safely and to avoid any damage to your kitchen. Remove any objects inside and on top of the microwave as well.
Safety Precautions
Safety comes first. Wear protective gloves to avoid cuts from sharp edges. It’s also wise to have someone assist you, especially when you’re ready to lift the microwave out of its position.

Detaching the Microwave
- Turn off power: safety first. Ensure the microwave’s power is completely off.
- Loosen Screws and Attachments: Use a screwdriver to gently loosen and remove any screws or fasteners securing the microwave in place.
- Handle Wiring with Care: After unscrewing, gently pull the microwave out a bit. You’ll see wires connected at the back. Carefully disconnect these wires. Remember, handling wiring needs caution to avoid damage.
- Disconnect Connectors: Find the connectors that link the microwave to the power supply. Gently unplug these connectors.
Key Tips:
- Keep Track of Screws: Place screws and fasteners in a container so they don’t get lost.
- Be Gentle with Wires: Avoid pulling or twisting wires harshly.
- Seek Help if Needed: If you’re unsure about any step, it’s wise to consult a
Removing the Microwave from the Cabinet
- Prepare: Turn off and unplug the microwave. Clear the area around it.
- Tools Needed: Gather screwdrivers and a helper.
- Protect Cabinets: Place a soft cloth over the cabinet edges.
- Unscrew: Carefully unscrew the microwave from the cabinet.
- Lift and Move: With your helper, lift the microwave straight up and then out. Avoid tilting to prevent damage.
Post-Removal Steps
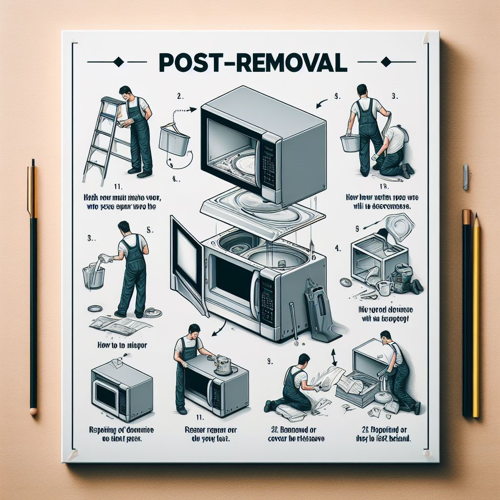
After you remove a built-in microwave oven, it’s important to think about what to do next. You might want to get rid of the old microwave or find a place to keep it. Also, the area where the microwave was needs some attention.
Disposing of or Storing the Microwave
If you’re not keeping the microwave, you can throw it away, recycle it, or donate it if it still works. Check local rules for electronics disposal. For storing, find a dry, safe spot. Maybe cover it to keep the dust away.

Repairing or Covering the Space Left Behind
The empty space can be fixed up or covered. You might need to patch up holes or paint. If you’re not putting a new appliance there, think about shelves or a cabinet. This makes the space useful and looks good.
Remember, dealing with electronics needs care. If you’re not sure, get help from a pro.
Conclusion
In summary, the process of removing a built-in microwave oven involves careful steps to ensure safety and efficiency. It’s vital to disconnect the power source before starting, which is a key safety measure. Additionally, removing the mounting screws and brackets carefully is crucial to preventing damage to your kitchen cabinetry. Once the microwave is safely detached, it’s advisable to inspect the area for any needed repairs or cleaning.
This process not only enhances your kitchen’s functionality but also provides an opportunity for an upgrade or redesign. Remember, while removing a built-in appliance, taking the right precautions and following a methodical approach are essential for a smooth and successful removal.
 https://bistrovivant.com is a participant in the Amazon Services LLC Associates Program, an affiliate advertising program designed to provide a means for website owners to earn advertising fees by advertising and linking to Amazon (.com,.co.uk,.ca, etc.) and any other website that may be affiliated with the Amazon Service LLC Associates Program. As an Amazon Associate, I earn from qualifying purchases.

