In the modern kitchen, the glass-top stove has become a hallmark of sleek design and efficient cooking. However, like any frequently used appliance, it can encounter issues, particularly with its burners and switches. Understanding how to diagnose and fix these problems is crucial for maintaining your stove’s performance and ensuring kitchen safety. This expert guide will walk you through the essential steps to identify and resolve common issues associated with glass-top stove burners and switches.
Whether you’re facing uneven heating, burners not working, or switch malfunctions, this guide aims to provide you with practical, easy-to-follow solutions. By equipping you with the right knowledge, you’ll be able to tackle these challenges head-on, minimizing downtime and extending the life of your valuable kitchen appliance.
Step 1: Identify the Problem
When troubleshooting your glass-top stove, the first and most crucial step is to accurately identify the specific problem you are encountering. This initial assessment will guide your subsequent actions and ensure you address the right issue. Common problems with glass-top stove burners and switches can range from performance issues to electrical faults. Here are some typical scenarios to consider:
- Burners Not Heating: This is a common issue where one or more burners on your glass-top stove fail to heat up. It can be a total lack of heat or a significant reduction in heating efficiency.
- Uneven Heating: Sometimes, a burner may heat up but do so unevenly. This can result in hot spots and cold spots, which affect cooking performance and food quality.
- Control Switches Not Functioning: In some cases, the problem might lie in the control switches. This could manifest as switches that are stuck, fail to adjust the heat level, or do not turn on the burner at all.
- Intermittent Heating: This involves burners that occasionally work and then suddenly stop working or fluctuate in temperature without any adjustments to the controls.
- Issue with the indicator lights: Frequently, the behavior of the stove’s indicator lights will also indicate a problem. They might not turn on, or they might stay on even when the burners are off.
By carefully observing the symptoms and behaviors of your glass-top stove burners and switches, you can narrow down the potential causes. This targeted approach will make the troubleshooting process more efficient and effective.
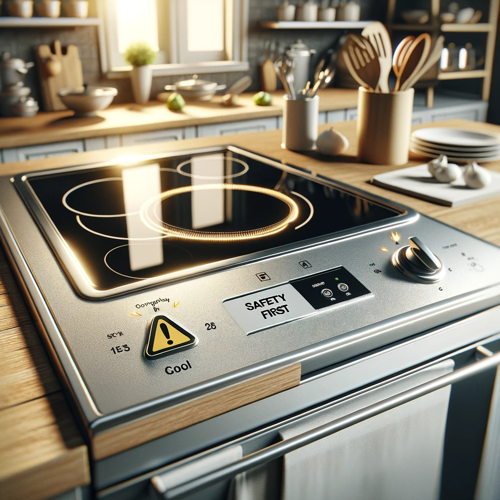
Step 2: Safety First
Prioritizing safety is critical when dealing with any repairs or troubleshooting, especially when dealing with glass-top stove burners and switches. Because of the delicate nature of glass-top stoves, as well as the electrical components, they must be handled with care to avoid accidents or further damage to the appliance.
Turn Off the Stove
Fully turn off your glass-top stove. The burners must be turned off and all electronic controls or displays must be deactivated.
Disconnect Power
For added safety, disconnect the stove from its power source. This might involve unplugging it from the wall socket or turning off the power at the circuit breaker.
Allow Cooling Time
Glass-top stoves retain heat for a considerable duration after being turned off. Wait until the stove is completely cool to the touch. This is important to prevent burns or injuries, as the glass surface can remain hot long after use.
Check for indicators
Some models have heat indicators. Even if the surface feels cool, make sure the indicator lights are off, signaling that the stove has cooled down sufficiently.
Prepare Your Work Area
Clear the area around the stove of any flammable materials, liquids, or other kitchen items. A clean, uncluttered workspace is safer and makes it easier to maneuver and inspect the stove.
Wear protective gear
Consider wearing protective gloves and eyewear, especially when you’re planning to inspect or clean the internal components. Tiny fragments or sharp edges can sometimes be a hazard.
Be Mindful of Glass
The glass top itself is sturdy but can be susceptible to cracks or breakage if handled improperly. Avoid placing heavy tools or parts on the glass surface.
Review the Manufacturer’s Guidelines
Before starting any troubleshooting, briefly review the safety instructions or guidelines provided by the manufacturer. This can offer specific advice tailored to your model.
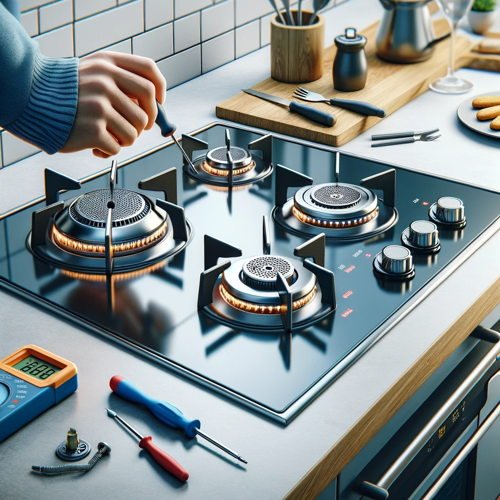
Step 3: Inspect the Burner
When troubleshooting glass-top stove burners and switches, a thorough inspection of the burner itself is a critical step. This involves two main aspects:
Visual Inspection
Surface Examination: Carefully examine the surface of the burner. Look for any visible signs of damage that could affect its performance. Common issues include:
- Cracks: Even small cracks can impact the heating efficiency of the burner.
- Blistering or pitting: These can be signs of overheating or material failure.
- Discoloration: Uneven or darkened areas may indicate burner elements are burning out.
Consistency Check: Ensure the glass surface is flat and even. A warped or uneven surface can lead to improper heating and potential safety hazards.
Connection Check
Secure Connection: The burner must be properly connected to the electrical source in the stove. A loose connection can lead to intermittent or no heating. To check the connection:
- Power Off: Ensure the stove is completely powered off and cool to the touch before proceeding.
- Gentle Adjustment: Carefully wiggle the burner element. It should not move excessively. If it does, this could be an indication that the connection is not secure.
- Visual Check of Connectors: Look for any signs of damage or corrosion on the connectors that could impede the flow of electricity.
- Realign if Necessary: Sometimes, gently realigning or reseating the burner can resolve connection issues.
Remember, handling the electrical components of a glass-top stove requires caution. If you’re unsure or uncomfortable with checking the connections, it’s wise to consult a professional. A properly functioning burner not only ensures efficient cooking but also maintains the safety and longevity of your appliance.

Step 4: Test the Burners
One of the best ways to find out what’s wrong with your glass-top stove is to test the burners. If you want to know if the burners or any other part of the stove is at fault, this is the step to take. Please adhere to these specific guidelines:
- Switch Off the Stove: Ensure that the stove and burners are completely off and cool to the touch to avoid any risk of injury.
- Identify a Working Burner: Choose a burner on your stove that you know is functioning properly. This will be your test burner.
- Swap the burners: Carefully remove the non-functioning burner and replace it with the working burner. Similarly, place the non-functioning burner in the slot of the working one. This process may vary slightly depending on the model of your stove, so refer to your user manual for specific instructions on removing and replacing burners.
- Test the Swapped Burners: Turn on the stove and observe if the swapped burners are functioning in their new positions.
- If the previously non-functioning burner works in the new position, this indicates that the burner itself is likely functional, and the problem may lie in the original burner socket or the connection.
- If the previously functioning burner now fails to work in the new position, this suggests an issue with the stove’s internal wiring, connection, or control system in that specific location.
- Document Your Findings: Take note of what happens with the swapped burners. This information will be valuable for further troubleshooting or if you need to explain the situation to a technician.
- Safety Check: Once you have completed the test, make sure to turn off the burners and allow them to cool down before proceeding to the next steps in troubleshooting your glass-top stove burners and switches.
Step 5: Inspect and Clean the Switches
- Turn off the power. Safety first. Ensure your glass-top stove is turned off and cool to the touch before you start. If possible, disconnect it from the power source.
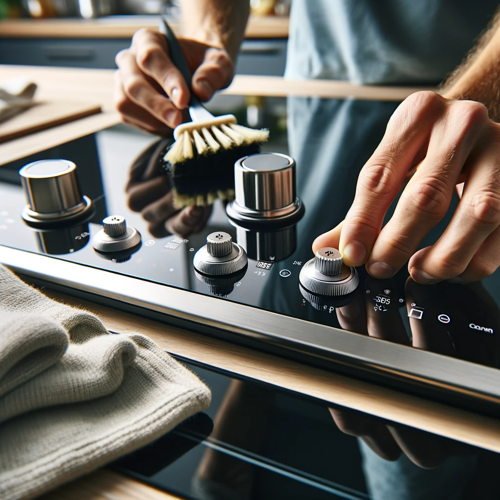
- Remove the Knobs: Carefully pull the knobs straight off the control panel. They are usually designed to come off easily for cleaning purposes. If they are stubborn, gently wiggle them back and forth as you pull.
- Clean the Knobs: Wash the knobs in warm, soapy water. Use a soft brush or cloth to gently scrub away any grease, food particles, or dirt. Rinse thoroughly and let them dry completely before reattaching.
- Inspect the Control Panel: With the knobs removed, you have clear access to the switch mechanism. Look for any signs of wear, damage, or corrosion. Pay close attention to any irregularities like cracks, discoloration, or melted plastic, which are clear signs that the switches might need replacing.
- Clean the Switch Area: Using a soft, dry cloth or a gentle brush, carefully clean around the switch area. If there’s stubborn grime, you can slightly dampen the cloth with a mixture of water and mild detergent. Avoid using excessive water or spraying any cleaning solution directly onto the switch components.
- Check for Loose Connections: While cleaning, it’s a good time to check for any loose connections or wires that might be visible around the switch area. However, avoid touching internal wiring unless you have experience with electrical repairs.
- Reassemble and Test: Once everything is clean and dry, reattach the knobs. Turn the power back on and test the switches to see if the cleaning has resolved the issue.
Step 6: Electrical Continuity Test
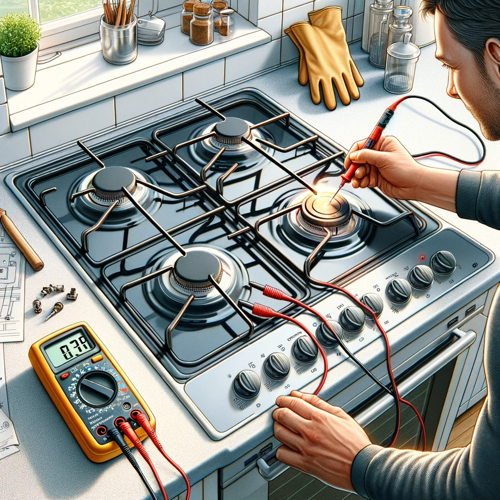
Conducting an electrical continuity test is a critical step in troubleshooting issues with your glass-top stove burners and switches. This test helps determine whether electricity can flow through a component, such as a burner or switch, uninterrupted. Here’s how to perform this test in more detail:
Required Tools
Setting a multimeter to continuity (typically a sound wave or diode sign).
Preparing for the Test
- Safety First: Ensure the stove is disconnected from the power supply to avoid any electrical hazards.
- Access the Component: Depending on your stove model, you may need to open the stove top or back panel to access the burners and switches. Refer to your stove’s manual for guidance on how to do this safely.
Testing the Burners
- Locate the burner connections. Find where the burner connects to the stove’s wiring.
- Test Continuity: Attach the multimeter probes to the burner’s terminals. A continuous circuit will typically cause the multimeter to beep or show a low resistance reading (close to zero ohms).
- Interpreting Results: No beep or a high resistance reading indicates a lack of continuity, suggesting that the burner might be defective and needs replacement.
Testing the Switches
- Locate the Switch Connections: Identify the wires leading to and from the switches.
- Perform the Test: With the switch in the ‘on’ position, place the multimeter probes on the switch terminals.
- Evaluate the Findings: Similar to the burner test, a beep or low resistance reading indicates good continuity. No beep or a high reading suggests a faulty switch.
Caution and Next Steps
- If you detect any faulty components during the continuity test, consider replacing them. However, if you are not confident in your ability to safely perform these replacements, it is advisable to seek professional assistance.
- It’s important to remember that dealing with electrical components can be hazardous. If you are uncertain or uncomfortable at any point, do not hesitate to contact a qualified technician for help.
Step 7: Check the Power Supply
Ensuring that your glass-top stove is receiving adequate power is a crucial step in troubleshooting burner and switch issues. Here’s a detailed approach to checking the power supply:
Locate Your Home’s Circuit Breaker or Fuse Box
This is typically found in a utility room, garage, or basement. It’s where the electrical supply to your home can be controlled and monitored.
Identify the correct circuit
Look for a label next to each switch or fuse in the box that corresponds to different areas or appliances in your home. Find the one that is labeled for the kitchen or stove.
Inspect for Tripped Breakers
A tripped circuit breaker will usually be in a position that is between ON and OFF or show a visible red indicator. If you find that the breaker for your stove has tripped, switch it to the OFF position and then back to the ON position. This reset might be all that’s needed to restore power to your stove.
Check for Blown Fuses
If your home uses fuses instead of circuit breakers, look for any fuse that appears discolored or has a broken filament. Replace any blown fuses with new ones of the same size and rating.
Test Other Appliances
Check other appliances in the kitchen to ensure they are receiving power. This helps to determine if the issue is isolated to your stove or a larger electrical problem in your home.
Examine the stove’s power cord and outlet
Safely pull the stove away from the wall to access the power cord and outlet. Look for any signs of damage to the cord or loose connections at the outlet. If you notice damage or loose connections, it’s best to call a professional electrician for repair.
Power Reset
Sometimes, simply unplugging the stove for a few minutes and then plugging it back in can reset the system and resolve minor electrical glitches.
Consult the user manual
Refer to your stove’s user manual for any specific instructions related to power supply issues. The manual might also have a troubleshooting section that covers power-related problems.
Step 8: Inspect the Internal Wiring
Preparation
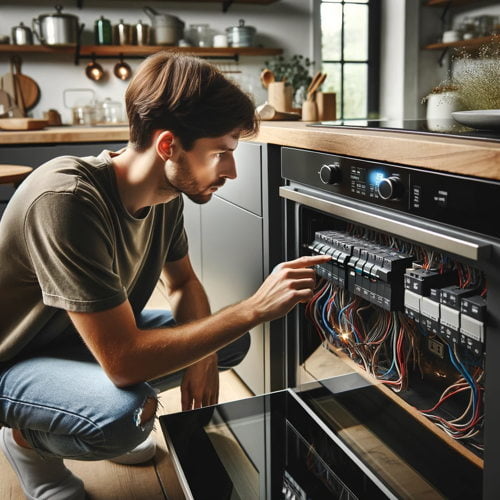
- Disconnect Power: Ensure the stove is unplugged or the circuit breaker is off to avoid any electrical hazards.
- Gather Necessary Tools: You’ll need a screwdriver, flashlight, and possibly pliers for this task.
Accessing the Wiring
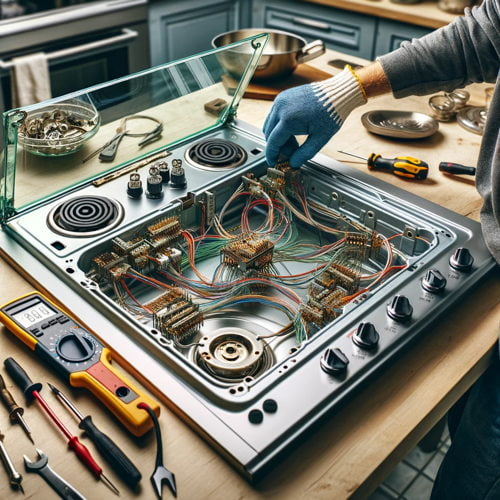
- Remove Panels: Carefully remove the back panel or any other covers that shield the internal wiring of your stove. Refer to your stove’s manual for guidance on how to do this safely and correctly.
- Observe and note: As you expose the wiring, take note of how everything is connected. This is crucial for reassembling.
Inspection
- Look for Loose Connections: Check all wire connections to ensure they are tight and secure. Loose connections can cause burners and switches to malfunction.
- Identify Burned or Worn Wires: Burned wires will have discoloration or a charred appearance. Worn wires might show signs of fraying or insulation damage.
- Inspect Terminals and Connectors: Ensure the terminals and connectors are not corroded or damaged. Corrosion can hinder electrical conductivity.
Safety Precautions
- Handle with Care: Be gentle when handling internal components to avoid causing additional damage.
- Avoid touching components unnecessarily. Minimize contact with electrical components to prevent accidental damage or displacement.
If You Find Issues
- Loose Connections: Tighten them with appropriate tools. Ensure not to overtighten, as this can strip the threads or damage the components.
- Damaged Wires: If you find significantly damaged wires, it’s best to replace them. However, unless you have specific expertise in appliance repair, a professional should ideally handle this.
- Corroded Terminals: Clean them carefully, but if corrosion is extensive, consider replacement.
Reassembling
- After inspection and any necessary adjustments, reassemble your stove carefully, ensuring all components are returned to their original places.
Professional Assistance
- If you’re uncertain about any aspect of this process or if you discover significant issues, it’s advisable to consult a professional. Dealing with electrical components can be hazardous, and a professional technician can ensure repairs are done safely and effectively.
Step 9: Consult the Manual
- Locate the Manual: If you don’t have a physical copy, most manufacturers provide digital versions of their manuals online. Simply visit the manufacturer’s website and enter your stove’s model number.
- Understanding Error Codes: Many modern glass-top stoves are equipped with diagnostic systems that display error codes. These codes are your stove’s way of telling you what’s wrong. The manual will have a list of these codes along with detailed explanations of each.
- Model-Specific Instructions: Every glass-top stove model may have unique features or components. The manual will offer guidance specific to your model, which can be extremely helpful if you are dealing with a problem that is not common to all stoves.
- Safety Precautions and Warnings: The manual also contains important safety information. It will guide you on what can be handled personally and what requires professional assistance, ensuring that you do not inadvertently cause more damage or put yourself at risk.
- Contact Information for Support: If the manual does not resolve your issue, it will usually provide contact information for customer support or recommend authorized service providers who can assist further.

Step 10: Seek Professional Help
If you’ve diligently followed the previous steps and the problem with your glass-top stove burners and switches still persists, it’s time to consider seeking professional assistance. This step is crucial, especially when dealing with complex electrical appliances, where an expert’s intervention can make a significant difference.
- Locate a Qualified Technician: Look for a technician who specializes in kitchen appliances or, more specifically, glass-top stoves. You can find professionals through recommendations, online directories, or by contacting the stove manufacturer for authorized service providers.
- Describe the Issue Clearly, when you contact a technician, provide a detailed description of the problems you’ve encountered. Mention any troubleshooting steps you’ve already taken. This information can help the technician prepare and bring the necessary tools or replacement parts.
- Safety and Warranty Considerations: Hiring a professional not only ensures safety but also adheres to warranty requirements. DIY repairs on complex issues might void your warranty, so check your stove’s warranty terms before proceeding.
- Cost and Time Estimates: Ask for an estimate of the cost and time required for the repair. This can vary depending on the severity of the issue and the availability of parts.
- Quality of Service: Ensure that the technician provides a service guarantee. This ensures accountability for the repairs done and provides you with peace of mind.
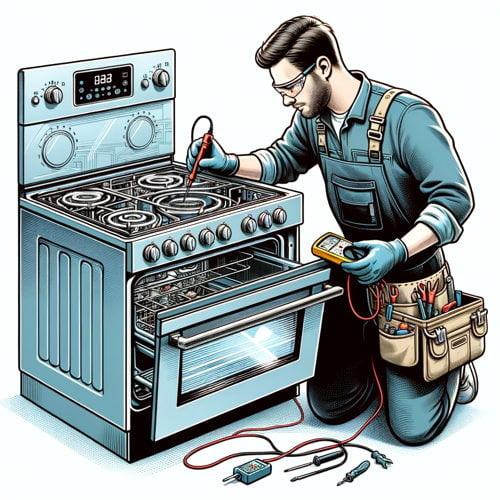
Remember, attempting to fix complex issues with glass-top stove burners and switches without proper knowledge and tools can be hazardous. A professional technician brings expertise, safety, and efficiency to the table, ensuring that your stove is repaired correctly and safely. Their intervention not only solves the immediate problem but also helps in maintaining the longevity and performance of your appliance.
Conclusion
Troubleshooting glass-top stove burners and switches requires a careful approach. Start with simple checks and cleanings, and if the problem is more complex, don’t hesitate to seek professional assistance. Remember, safety should always be your top priority.
 https://bistrovivant.com is a participant in the Amazon Services LLC Associates Program, an affiliate advertising program designed to provide a means for website owners to earn advertising fees by advertising and linking to Amazon (.com,.co.uk,.ca, etc.) and any other website that may be affiliated with the Amazon Service LLC Associates Program. As an Amazon Associate, I earn from qualifying purchases.

